Jason Anderson Director of Customer Consulting & Support
Jason Anderson
In this article
Share this story
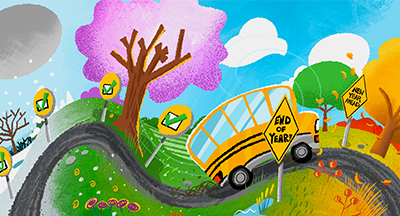
The end of the year can be a busy time, but it doesn't have to leave you frazzled. With the help of this checklist, you can put yourself on the right track to a smooth end-of-year experience.
Please note: This checklist includes only general considerations. It is important to be aware of any specific processes required by your state. For further reference, check out our online documentation of student processes, ranging from state-specific instructions to year-end procedures.
Note that scheduling processes can continue in the current school year, along with future scheduling processes, as long as the correct school year is selected when running them.
We hope these checklists will help you simplify your year-end processing. If you need further assistance, we're more than happy to help! Check out Know Your Skyward Support Options for more information.
Thinking about edtech for your district?We'd love to help. Visit skyward.com/get-startedto learn more.
Share this storyAbout the author
Jason Anderson Director of Customer Consulting & Support
The Tech Tips series is designed to help you stay safe, increase productivity, and build your digital literacy. Check out this month's article to learn about Microsoft Forms, creating bookshelves in Google Books, cleaning your keyboard, and a way to fight the Malware of the Month.
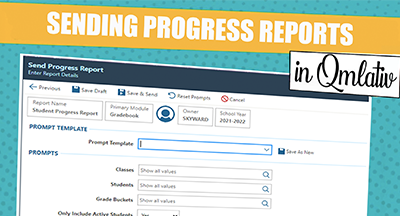
The ability for teachers to email Progress Reports directly to guardians was a top request in the Product Ideas Portal. You asked, we built it, and we’re excited to share it with you today!
This site uses cookies to improve your browsing experience and to help us understand how you use our site. To learn more about how we use this data, click to view our Privacy Policy. By continuing to use this site, you are consenting to our cookie policy.
 Get started